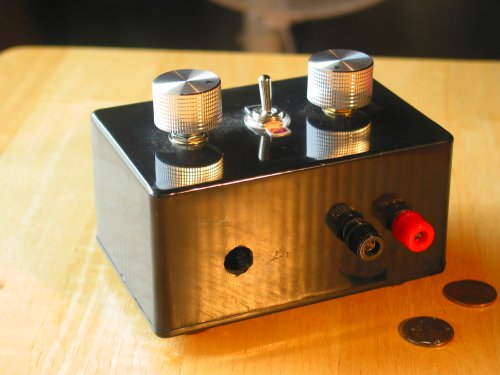
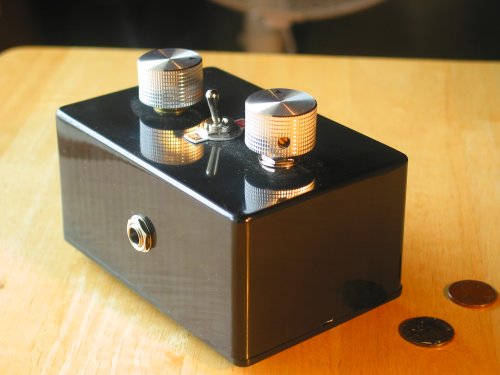
So I had a cab all set; time to build a head version of the Little Gem and hook it up. Capacitors, resistors & the amplifier chip come several to a package, so I didn’t have to buy the whole parts list again, just a pot, rheostat, the polarized resistors, prototype board, knobs, switch and a box to put them all in. I picked up an inexpensive plastic ‘project box’ at the local electronics parts store. It’s about 5″ wide, 3″ deep and 3″ tall. I went with plastic because I didn’t have drill bits* capable of drilling through metal in any short amount of time. I also bought a dc plug, thinking I could run this head on an old 9 volt adapter I have left over from an effects pedal.
The build went smoothly, up to a point. It tested fine on the battery I’d installed, but when I plugged in the wall wart, I got nothing. Zilch. No sound, no nothing. I unplugged the wall wart, and went back to the battery. Still nothing.
See the gaping hole where I had to remove the DC plug?
Now, remember a few posts ago I mentioned another benefit of using sockets for your amplifier chip rather than soldering the chip directly? Here it is. Since I had a hunch I’d damaged my chip, and I had an extra chip (they come in packages of 3), I quickly swapped the chip out by prying it out of its socket with my thumbnail. Had I skimped on the socket, I would have had to desolder the whole thing (8 connections) running the risk of burning up the chip if it was ok on each joint, and then have to solder in a whole new chip.
With a fresh chip in place I tested the head with the battery, and it sounded out nice and loud. So obviously I’d burnt the chip when I plugged the amp into the wall. After a little research, it became obvious what I’d done. I’d bought a 2-lug dc plug. If you look at the stompbox wiring page at Beavis Audio, you’ll see that his dc plug has 3 lugs. This kind of plug doubles as a switch– when the wall wart plugs into this socket, it automatically switches off the flow of current from the battery. My 2-lug plug did not do this, and was in fact wired in series with the battery. So when I plugged it into the wall, I was running adapter current PLUS battery current, about 18 volts, through a chip rated for only 9. So, yeah, I burnt the chip. Luckily, they’re cheap.
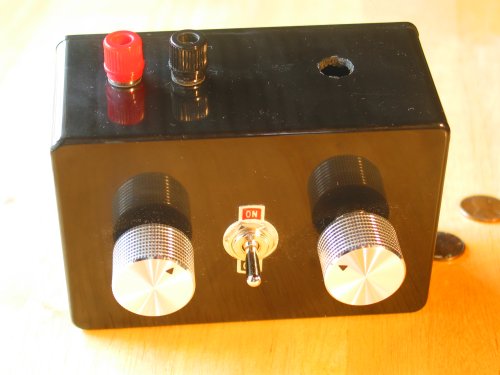
These switches come with these little labeled washers. Useful for when you don’t want to wire a led to let you know when it’s on.
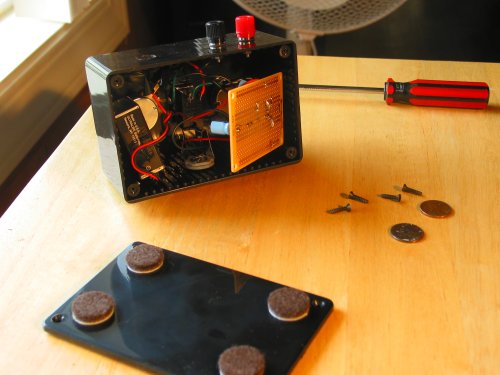
It’s a bit crowded inside, but only because I’ve been pretty sloppy with the wiring so far. Got to work on that.
Here are two samples of the Little Gem’s sound, in .ogg format. The cabinet is sounding great, nice and warm. Both are played on my partscaster, with the neck and bridge pickups mixed together.
Middle of the Road-ish – about as clean as it gets
Sunshine of Your Wub – Gain up about 3/4 of the way
* Actually, according to my old shop teacher, a ‘drill bit’ is the clamping part of the tool that holds the actual boring device, which should be called the ‘drill.’ The motor that turns the bit and drill assembly is, surprisingly enough, the ‘drill motor’. I grew up calling the drill a bit, the bit a chuck (the chuck is actually a specific part of the bit), and a drill motor a drill. That’s as may be, but every time I go the hardware store and ask for ‘drills,’ they take me to the ‘drill motors.’ Really, most of the time it doesn’t pay to be pedantic.


very nice! I dig the way it turned out. that’s funny that you blew the chip. what did the blown chip look like? did it break or anything?
Can’t wait to hear the sound clips. When you post them, let me know. I’d like to do a post about your project at IG BLOG if you don’t mind. Cuz I think I’m gonna build me a little gem too.
Laters!
IG
There is no outward evidence that the chip is blown. It looked perfectly normal. The only way I knew it was the chip that had gone was by swapping it out with a new one.
In a circuit like this, the chip is the most delicate component. I’ve read that this circuit design gets more headroom when run at 12 volts, but you have to make sure your chip is rated for that. There are several different varieties of this chip, some more tolerant of higher voltages than others. I bought the delicate variety, apparently.
I’ll be getting those sound clips up soon, plus the writeup on the Ruby– which sounds way better.
How do you wire the switch?
how do you wire the switch in yours?
The switch in this one is a SPST (Single Pole, Single Throw). It only has two contacts. I ran a lead from the positive pole on the battery to one contact, and from the positive connection on the circuit board to the other contact. Nice and simple.